Introduction
The “Resolver Configuration” allows you to update the nameservers which your server will query in order to resolve domain names into IP addresses. Usually, these nameservers are provided to you by the datacenter where the server physically stands .Of course, there are other resolvers available which you can absolutely use if you want to, but you should be really careful with this, as if it is not configured properly, the server will be unable to resolve domains that might lead to connectivity issues.
Accessing the Resolver Configuration feature
Step1: Login into WHM
Step2: In the Search Bar Search for Resolver Configuration.
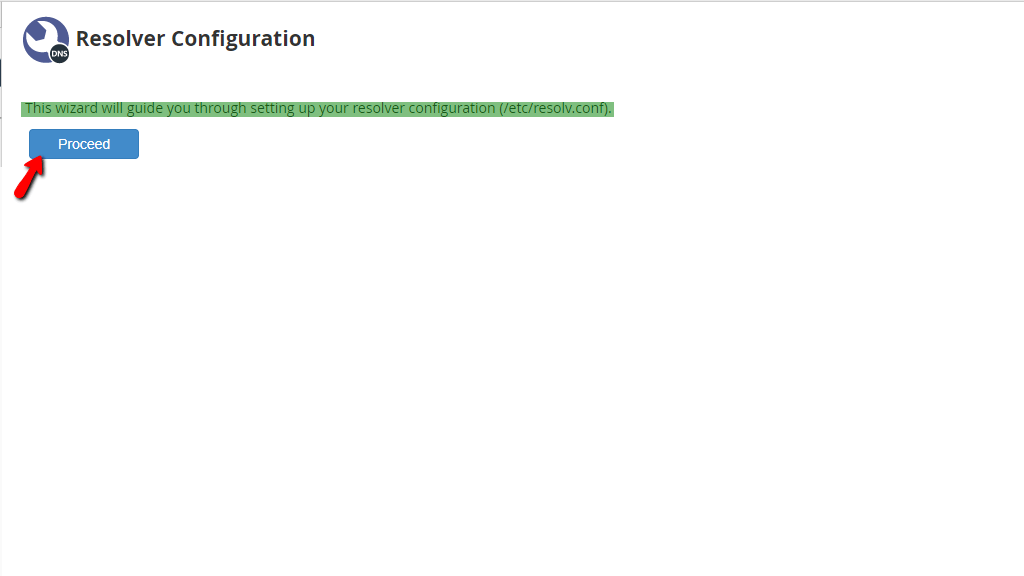
Step3: When you click on the link right below the search bar called “Resolver Configuration” you will be sent to the page where you can start the setup. Initially, you will see a message stating “This wizard will guide you through setting up your resolver configuration (/etc/resolv.conf).”. and a “Proceed” button below it. Click it so you can go to the next page.
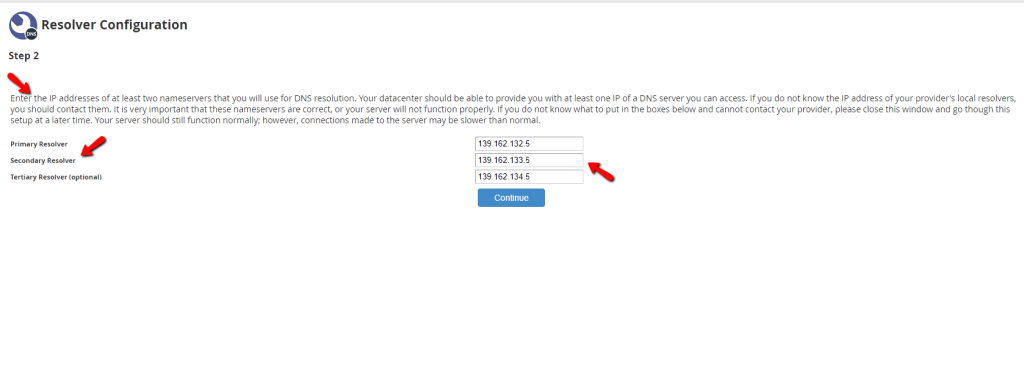
Step4: The process will appear immediately after. When you land there, you will see a description regarding the setup and more specifically - where you can get these resolver nameservers/IP addresses. Additionally, a warning about the consequences that may follow should you configure this incorrectly will be displayed as well. Do not worry about that, as this guide aims to explain this process in a way that you should be completely able to follow without any issues and complete it properly! The next things that follow after the description are the 3 sections labeled:
Primary Resolver
Secondary Resolver
Tertiary Resolver (optional)
On their right sides, you will find fields containing the IP addresses of the current resolvers. On your server with us, these are preconfigured to the ones provided by our datacenter.
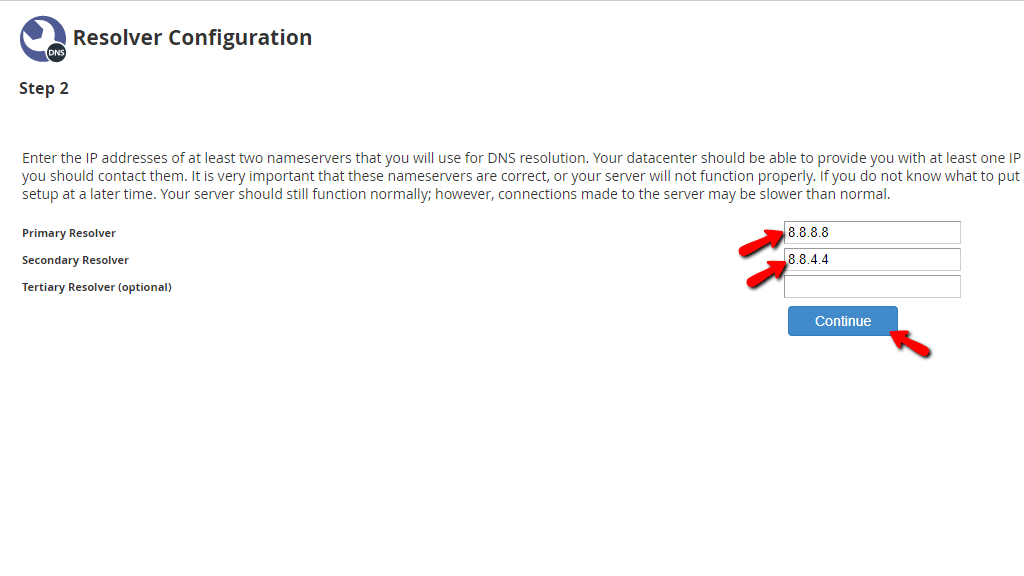
For the purposes of this tutorial, we will be setting up the Google resolver so we can illustrate the process in the simplest way possible. As you may know, Google’s DNS resolvers are the following:
- 8.8.8.8
- 8.8.4.4
In order to set these as the server’s resolvers, we have to type this into the “Primary Resolver” and “Secondary Resolver” fields shown in the last screenshot. We are skipping the third field, as it is optional. After the DNS resolves are configured, the “Continue” button must be pressed.
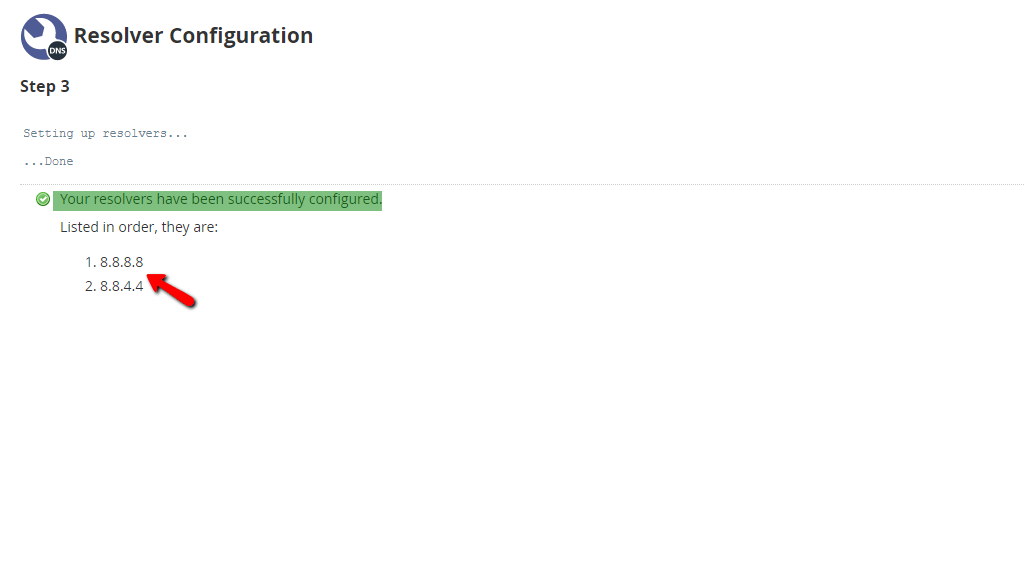
The last page will be a changelog that informs you that the new resolvers have been applied and will show you what they currently are. Below will be the output you should expect.